Let’s say you really, really dig the Gmail email interface. You want to use it with all of your email accounts, not just Gmail. Well you’re in luck! Google lets you do that. At least with POP3 accounts they do. Here I’ll show you how to add an Infologistix email account to Gmail. You’ll then be able to send and receive email with your account through the Gmail web interface. (You can click or tap any image to make it larger.)
Be sure to use a computer to complete this task. The email address will be automatically added to the Gmail mobile apps.
This tutorial has 8 steps.
Step 1.
Click on the gear icon and select Settings. Then click “Accounts and Import”. Then look for “Check mail from other accounts” and click the link “add a mail account”
[dropshadowbox align=”none” effect=”lifted-both” width=”auto” height=”” background_color=”#ffffff” border_width=”1″ border_color=”#dddddd” rounded_corners=”false” ] [/dropshadowbox]
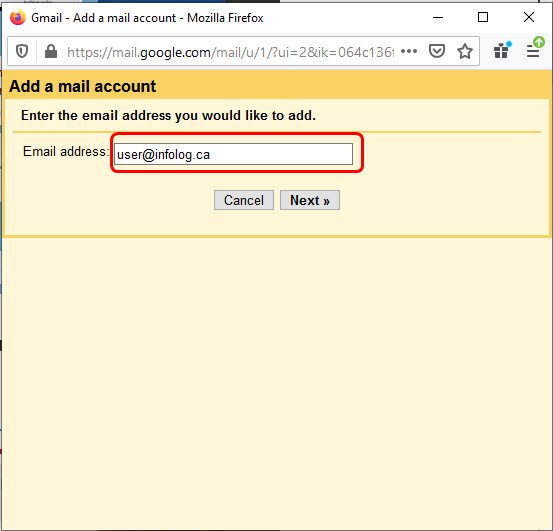
Step 2.
Add your email address in the field provided and click “Next”.
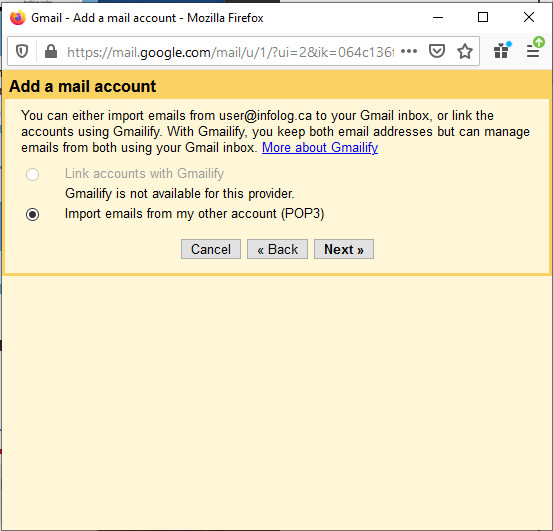
Step 3.
Click “Next”.
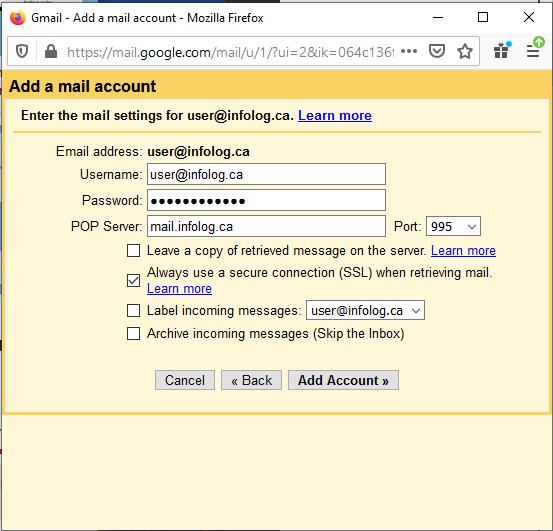
Step 4.
Use your entire email address as the user name. Fill in your password and POP Server (if you’re not sure ask us: email hidden; JavaScript is required) and select port 995. Be sure to check the box next to “Always use a secure connection” (Super Important!) Click “Next”.
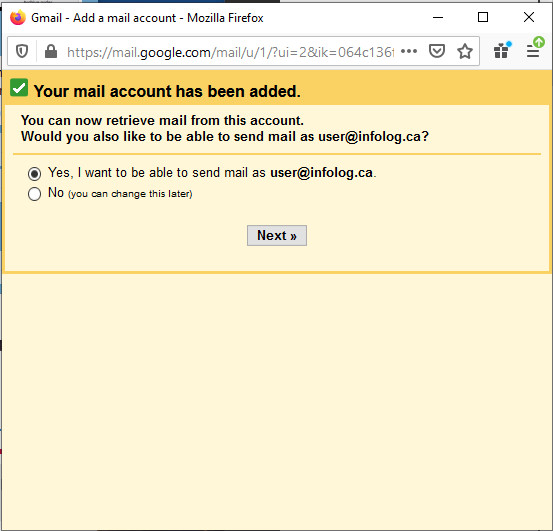
Step 5.
You likely want to be able to reply from and send email from the same address it was received at. Check “Yes” and click “Next”
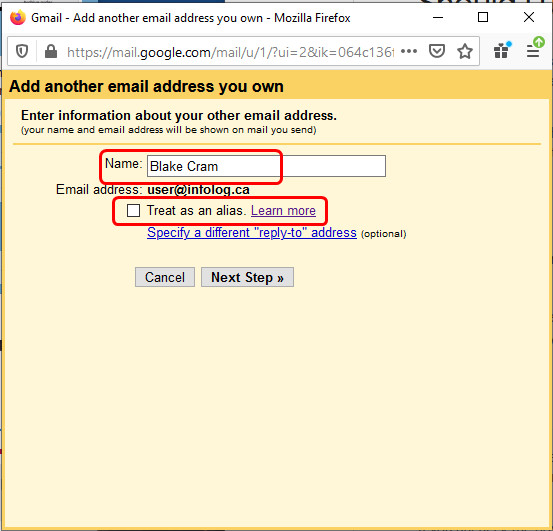
Step 6.
Fill in your from name as you want it to appear in your recipients inbox (anything you want here). Then uncheck the “Treat as an alias” box. Click “Next”.
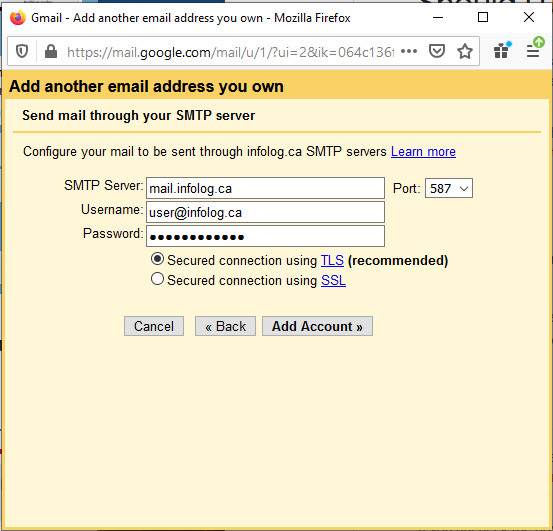
Step 7.
Fill in the same info from Step 4. Select port 587. Check “Secured connection using TLS”. Click “Add Account”.
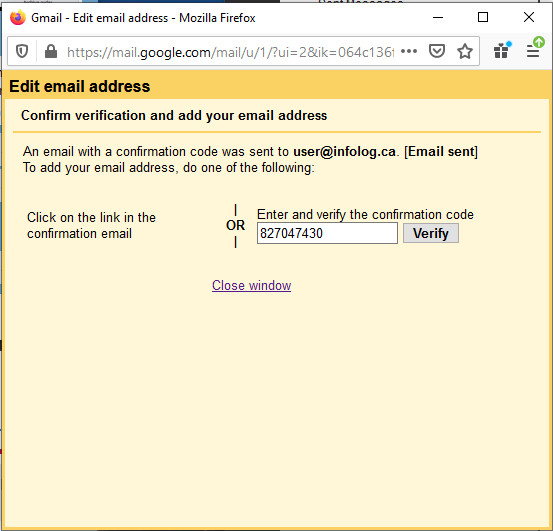
Step 8.
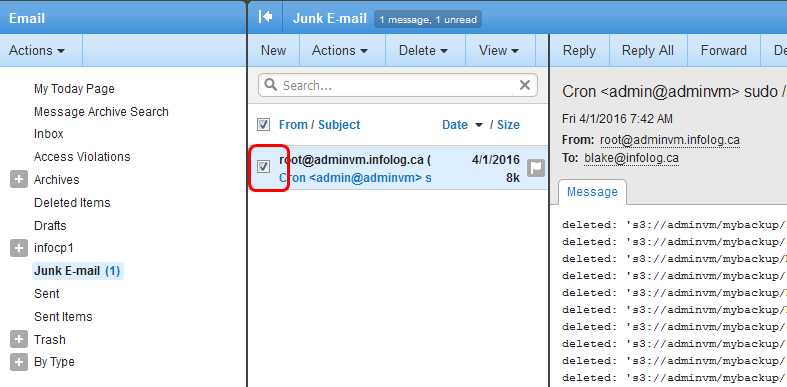
Check your Infologistix email account (the one we added here) for the Google confirmation code. Be patient! It will arrive, but sometimes it takes a while. If you lose patience click the “Send again” link (but you only get one more chance!). Enter the code and click “Verify”.
Woohoo! All done. Remember if you need help email us email hidden; JavaScript is required or click the blue help button at the bottom right on this page.