Here are the steps to setup a POP3 account in Outlook 2016. If you want to use IMAP instead you can use our IMAP Setup tutorial, but we are fans of the older, but more reliable Post Office Protocol (POP).
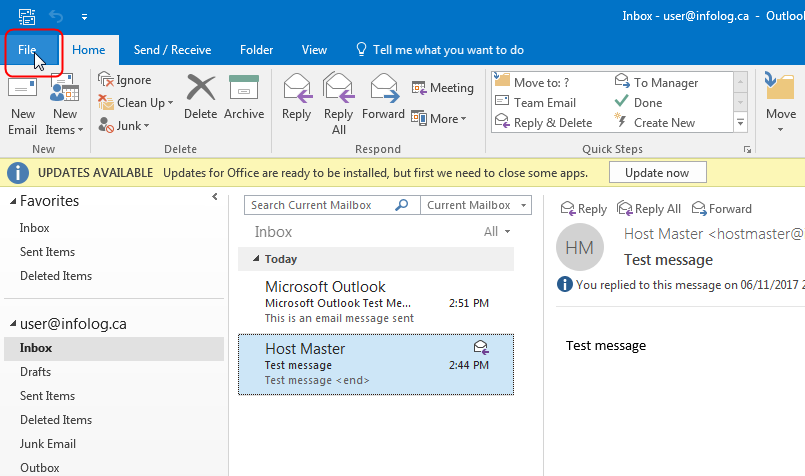
Step 1:
Open Outlook and click “File” from the main menu.
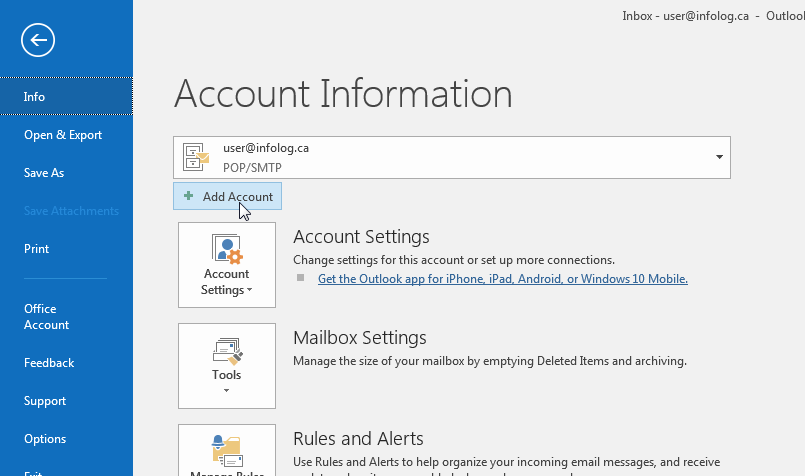
Step 2:
Click “Add Account”.
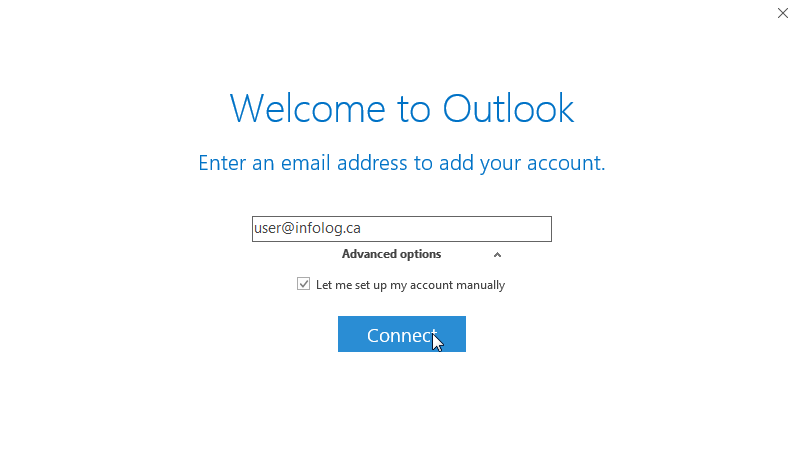
Step 3:
Fill in your email address. Click “Advanced options” and check the box next to “Let me set up my account manually”. Click “Connect” to continue.
Step 4:
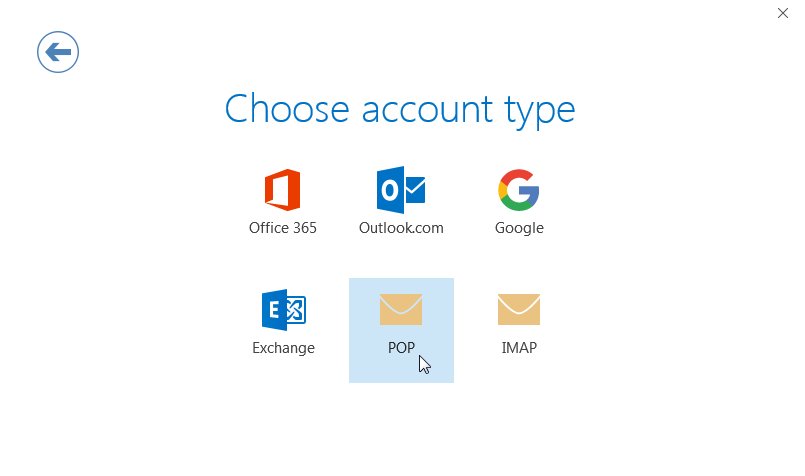
Click the “POP” account type box.
Step 5:
Have the mail server names assigned to your account handy. If you are not sure what they are ask up by clicking the “Help” button on the bottom right of this screen.
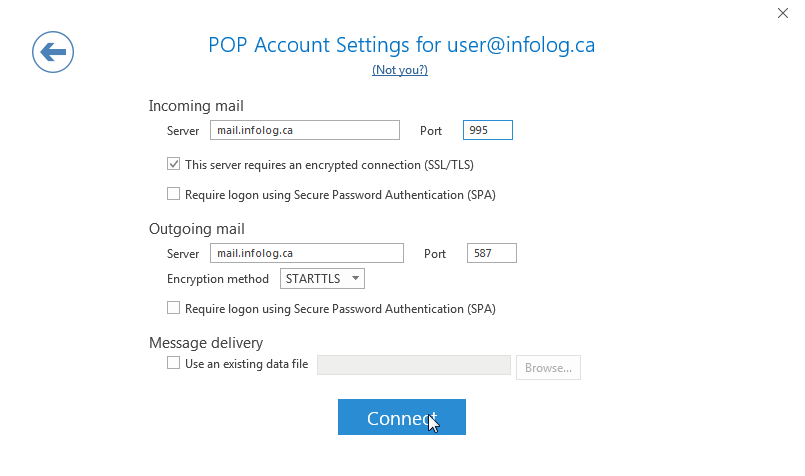
For “Incoming mail” fill in the server name, type in 995 for the port and click the box next to “This server requires and encrypted connection (SSL/TLS)”.
For “Outgoing mail” fill in the server name, type in 587 for the port and select “STARTTLS” for the “Encryption method” dropdown.
This should look just like the image below, except you will use the server name assigned to your account. Then click “Connect”
Step 6:
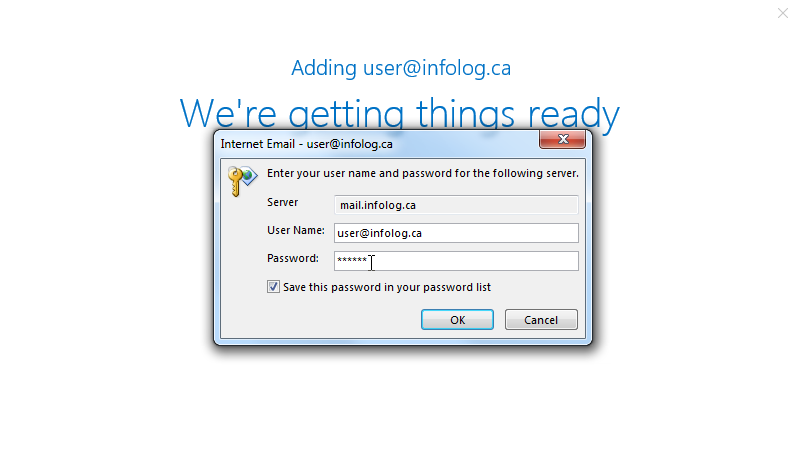
You will be prompted for your email account password. Make sure the “User Name” is the same as your email address. Click the “Save this password in your password list” check box and click “OK”.
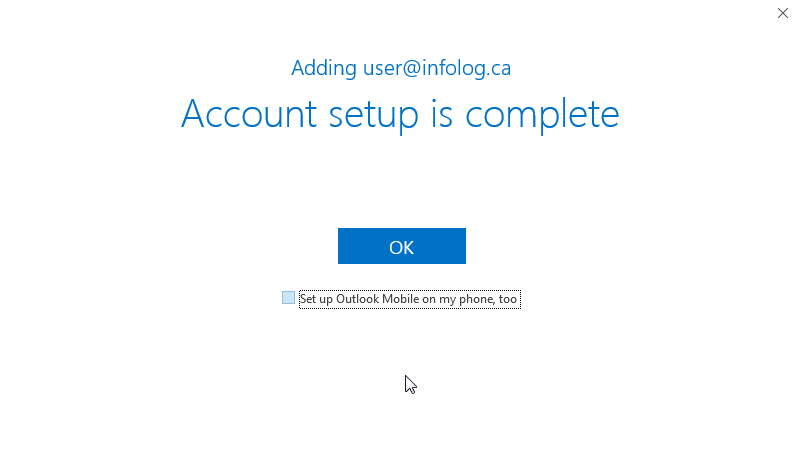
Step 7:
Woohoo! Success. Click “OK” to return to the Outlook main screen and send a test message. If you get any errors let us know by clicking the “Help” button at the bottom right of this screen.